Total Pageviews

Showing posts with label Bump Maps. Show all posts

Friday, 15 February 2013

WEAPON MODELLING: WEAPON MOODBOARD

      The last large 3D Modelling assignment of the year is here - it is huge! I've had experience in 3D modelling, I've had experience in texturing and finally, I've had 'some' experience in mapping. The final assignment tasks us with applying all of this knowledge to a first person shooter gun that we have have to research, concept, model, texture, map and render. It's the full development process of any in-game object. So, I've made a plan of how to get this done in an organised fashion. Hopefully, this also means a credible and successful fashion.

1. Moodboards – Weapons
2. Visual Styles Research
3. Silhouettes Sheets
4. Moodboard – Chosen Weapon
5. Research Sheet(s)
6. Design Sheet
7. Turn-Around
8. Development Sheet
9. Low Poly Sheet
10. High Poly Sheet
11. Real Time Render of Textured Model
12. Texture Set Sheet
13. Final Real Time Render

    Again, I'm being ambitious, and it will stress me out beyond belief. But I'll get it done, hopefully. I've already got the first sheet done in an attempt to understand firearms a bit better visually. Now I have this reference sheet, It's time to look at different visuals styles and begin to brainstorm weapon ideas with this research in mind.

GUN MODELLING - WEAPON MOODBOARD
by Christian Whelan

    I'm still slightly torn on what weapon type to go for. Do I go for a weapon I want that is less interesting as an object? Or do I go for something I don't that has more complex geometry. Once I decide on the weapon, I'll complete the second sheet - a moodboard / reference sheet for that weapon type. Only then, can I really get started on this assignment.

NEXT POST: WEAPON MODELLING: VISUAL STYLES RESEARCH

3DS MAX: OIL BARREL SPECULAR MAPPING

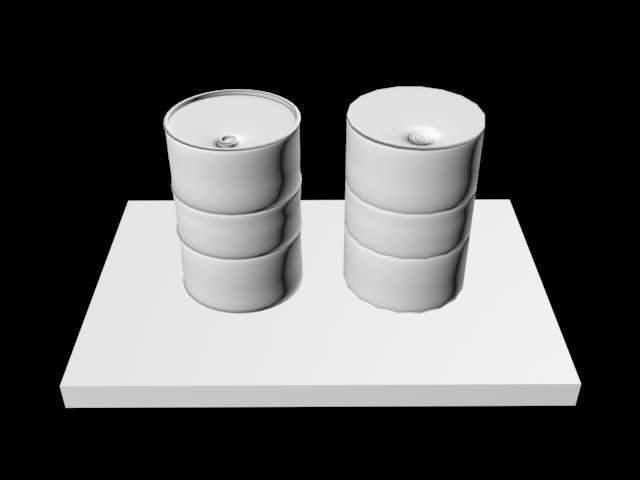
        Previously, I had modelled and baked an Oil Barrel as a first attempt at normal and difuse mapping. To take it to the next level, we had our first attempt at using Specular Maps to add texture and depth. When an Oil Barrel in a game looks complex, but it's actually flat, uninteresting object, that's normal mapping and diffuse mapping. When the lighting bounces of the even the tiny scratches on that barrel, but again, it's still just a flat, geometrically uninteresting object, that Specular Mapping. 

     Using all these mapping technique in cooperation, developers can make a basic primitive barrel shape look like a dented, rusted and scratched oil barrel. What does this do? Well, it saves processing power for those more important in-game details whilst just simply making the game look believable for the player. I had my first attempt at this technique, the before, after and maps are below.

COMMENTS AND CRITICISMS APPRECIATED!

THE BARREL - THE MAPPING PROCESS
by Christian Whelan
THE MAPS - THE MAPPING PROCESS
by Christian Whelan
   
  It's hard to tell the difference between the two maps on the second GIF, but at its basics, I took the original Diffuse Map and overlaid a textured using an Ndo extension. This allowed me to convert the image and tweak the extensions various effect. If I wanted the scratched texture to be more bold, I could of done so, but as you can see from the before and after GIF of the barrel, it was effective enough.

NEXT POST: WEAPON MODELLING: WEAPON MOODBOARD

3DS MAX: OIL BARREL BAKING ATTEMPT

     Low Poly to High Poly baking is a magic trick that uses Normal Maps to save processing power so that your game can run faster. That Call of Duty gun looks great, but in reality, it really isn't 'that' great - its just a projected illusion. I had my first tutorial and attempt at baking today and to put it lightly, its not the easiest thing I've done.

My test subject? An Oil Barrel I had to model and bake myself. The result and normal map is below.

COMMENTS AND CRITICISMS APPRECIATED!
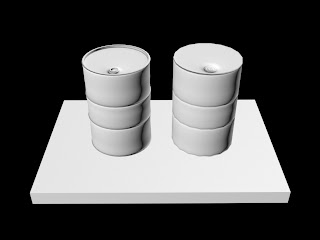
LOW POLY (RIGHT) - HIGH POLY (LEFT)
NORMAL MAPPING - by Christian Whelan
NORMAL MAP - OIL BARREL
by Christian Whelan

     So, to get the High Poly (left) looking like the Low Poly model (Right), I had to go through a few steps. Tehse steps take place after you have applied the Turbosmooth modifier.

1. Duplicate the High Poly model and remove all additional loops and verts.
2. Unwrap the Low Poly model's UV.
3. Once at its most basic, reset the xForm on the Low Poly Model.
4. In the modifier tab, collapse the xForm modifier and click 'Yes'.
5. Name the High Poly and Low Poly models appropriate names
6. Set the co-ordinates of the X, Y and Z axis for both barrels to '0.
7. Select the Low Poly model and press '0' to bring up the "Render to Texture" window.
8. Alter the Projection cage so that the High Poyl model fits snug.
9. Enable 'Projection Mapping', click 'Pick' choose the High Poly Model.
10. Go into the settings and click on the 'Global Supersampler' setup.
11. Enable the Global Supersampler and select the 'Max 2.5 Star' setting.
12. In the 'Mapping Co-ordinates' section enable 'Existing Channel' and set the '1'.
13. Enable the 'Selected Element Common Settings'.
14. Set the resolution to "1024x1024".
15. In the Output section, 'Add' a Normals Map.
16. In the 'Selected Element Common Settings', click the ellipsis next to the 'File name and Type' and save it.

       Now that the map had been created and saved, it was time to map it to the Low Poly Model using the 'Compact Material Editor'. Once this was done, the above image was the result. It looked good, but not great. Maybe this was down to the original High Poly barrel not being as geometrically interesting as it could of been, I guess I'll only know when I use this technique on more complex models. 

The fact is, it wouldn't look any good in a game. This is down to one thing - it looks to flat. I need some texturing and depth on the model to make it look 'realistic'. 

NEXT POST: 3DS MAX: OIL BARREL SPECULAR MAPPING